- By properly configuring connections, detection, and screen organization, Windows allows you to work with multiple monitors in a stable manner.
- Display modes (extend, duplicate, or use only one screen) are switched on the fly with Windows + P depending on what you need at any given time.
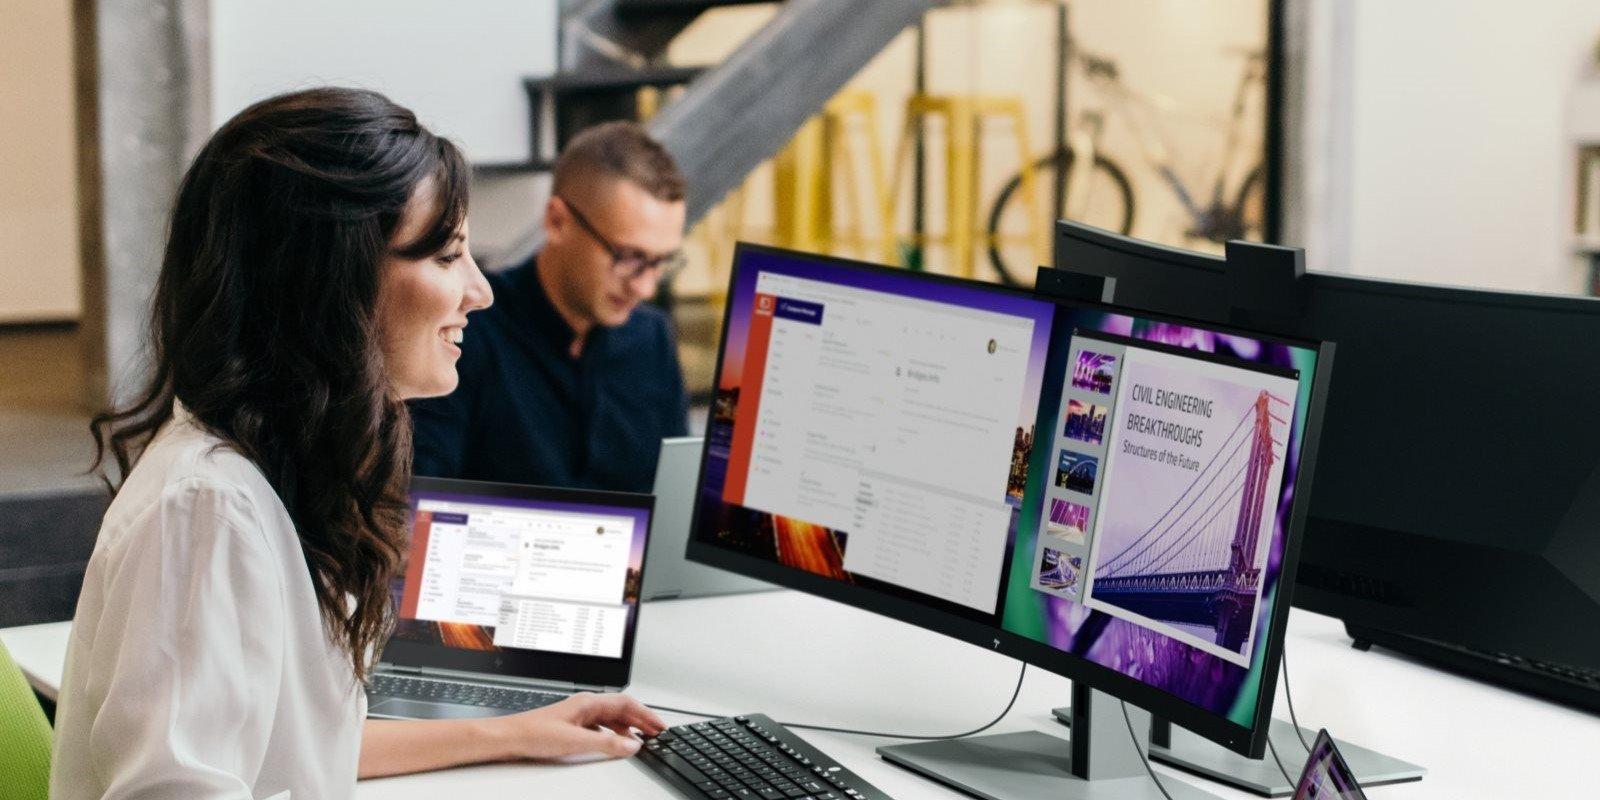
- Adjusting resolution, scale, orientation, and taskbar per monitor improves comfort and makes the most of workspace.
- Features like Snap Layouts, virtual desktops, and DisplayPort daisy-chaining take multitasking with multiple displays to a much more advanced level.

set up a dual screen in Windows It's one of those things you try once and never want to go back. Working with two monitors (or more) lets you have your email open while writing a report, compare documents, follow a video call without losing sight of your notes, or simply enjoy games and movies on a big screen while keeping other windows handy.
In this article you will learn, step by step and without beating around the bush, how connect, detect and configure multiple displays In Windows 10 and Windows 11, how to rearrange them so that the mouse moves naturally between them, what display modes exist (duplicate, extend, single screen only, etc.), how to adjust resolution and orientation, and also some tricks such as using keyboard shortcuts or connecting wireless monitors daisy-chained via DisplayPort.
Before you begin: basic checks and requirements
Before you start struggling with the Windows menus, it's a good idea to make sure the hardware is in order and that your computer supports it. more than one external screenYou'll save time and frustration.
First, check that The video cables are plugged in properly. This applies to both the PC (or docking station) and each monitor. Whether you use HDMI, DisplayPort, VGA, DVI, or USB-C with video output, the connector must fit snugly and without any play. If you have any questions about ports and connectors, please consult our complete PC hardware guideIf you are using a docking station, also make sure it is properly connected to the laptop and the power supply.
Secondly, it is highly recommended that you have Windows updated to the latest versionThis avoids many compatibility issues with newer graphics cards and displays. To update in Windows 11, go to Start > Settings > Windows Update > Check for updates. In Windows 10, the path is Start > Settings > Update & Security > Windows Update > Check for updates. If you need help, learn how to Update Windows 11 without restarting step.
Finally, it's worth noting that some very old or very basic devices may be limited in the maximum number of external displays supported by the graphics card. If you connect more monitors than the hardware supports, they simply won't appear or only some will work.
How to physically connect the second monitor to the computer
The physical connection is the simplest part of the process, but it's important to understand the options well. A PC or laptop can have several types of video outputs compatible with dual display: HDMI, DisplayPort, USB‑C with DisplayPort Alt Mode, mini DisplayPort, DVI or even the veteran VGA.
On a desktop computer, monitors are normally connected to the dedicated graphics card (or the integrated graphics on the motherboard, if you don't have a dedicated graphics card). These cards usually include several outputs (for example, two DisplayPort and one HDMI) that can be used simultaneously to connect two or more screens.
On a laptop, you have several options: a HDMI side or rearA USB-C port with video support, a mini DisplayPort, or an official or third-party docking station that offers several additional video ports. All-in-one computers, such as many desktop PCs, commonly include a HDMI input or output On the back: consult the manual to find out which one to use.
Once the cable is plugged into the PC and the secondary monitor, in most cases Windows 10 or 11 will automatically detect the new screenYou will hear the typical new device sound and, on the second monitor, an additional desktop or a copy of the main one will appear, depending on the default configuration.
Detecting and recognizing screens in Windows 10 and Windows 11
When you connect a monitor and nothing seems to be happening, or you're not sure which screen is which, it's time to use the tools of detect and identify screens which includes Windows.
In Windows 11, open Start, type “Settings,” and go to Settings > System > Display. If everything is working correctly, you'll see several numbered rectangles (1, 2, 3…) representing your monitors. To display the number on each screen, click on IdentifyA large number will appear superimposed on each one so you know which screen corresponds to each box.
If you have connected another screen and it does not appear in the diagram, scroll down to the section Multiple screens and click the Detect button. This tells Windows to search for connected but unrecognized monitors. The procedure in Windows 10 is very similar: Start > Settings > System > Display, and there you'll see the options "Rearrange displays," "Identify," and "Detect."
In the case of a wireless display (For example, a Miracast-compatible TV or a wireless receiver-type device), in Windows 11 you can go to Start > Settings > System > Display > Multiple displays > Connect. From there, the system will search for wireless displays to which you can project.
Arrange the screen positions for smooth mouse movement
Once Windows has detected all the monitors, the next key step is place them on screen as you have them on the physical desktopIf you don't, the mouse will jump at strange angles from one screen to another, which will be quite awkward.
In Windows 11, under Settings > System > Display, you'll see the numbered boxes for your monitors. Simply Click and drag each rectangle You can position it to the left, right, above, or below the main monitor, depending on how your screens are arranged on the table. For example, if your secondary monitor is on the right, drag its window to the right of the main monitor.
In Windows 10 the process is almost identical: within the Display section, the diagram with the screens is shown, which you can rearrange by dragging and droppingWhen you've finished placing them, press the Apply button to save the new design.
You should test the result by moving the mouse pointer from one screen to the other. If you notice that to switch to the right monitor you have to push up or down instead of sideways, the boxes aren't aligned correctly in the settings. Gently move one virtual monitor up or down until the mouse clicks smoothly. natural and linear.
Choose the display mode: extend, duplicate, or use a single screen
The key to a successful multi-monitor experience is deciding what you want each screen to display. Windows offers several projection modes which change quickly with a very practical keyboard shortcut.
press the combination Windows key + P and a panel will open on the right side with the following main options:
- PC screen only: disables external monitors (on a laptop) and only uses the integrated screen.
- DoubleThe same image is displayed on all screens, like a mirror. This is very useful for presentations or when you connect your PC to a projector.
- ExtenderConfigure a continuous desktop that spans all screens. You can drag windows from one monitor to another and have different applications on each one.
- Only the second screenTurn off the main screen (for example, the laptop screen) and use only the external monitor. Perfect if you want to work only with the large screen.
This menu works the same in both Windows 10 as in Windows 11And you can switch modes as many times as you like. If, for example, you normally work with "Extend," but occasionally want to display the exact same thing on a TV to show something, simply press Windows + P, choose "Duplicate," and when you're finished, switch back to "Extend."
Adjust resolution, scale, and orientation of each monitor
Once the mode is defined, it's time to refine the image quality and appearance of each screen. Windows allows you to assign a specific resolution and guidance to each connected monitor, independently.
In Windows 10, go to Start > Settings > System > Display. Click on the monitor you want to adjust (1, 2, 3…) and scroll down to the “Scale and layout” section. There you can choose the resolution recommended for that screen, change the scale percentage (for example, 100%, 125%, 150%) and select the screen orientation (horizontal, vertical, horizontal flipped, vertical flipped).
If you physically rotate a monitor to use it vertically, you'll also need to change the orientation in this menu. Otherwise, the image will appear sideways. Windows usually suggests a recommended orientation, but you can force the one you want depending on how you use the screen.
In Windows 11, the approach is similar: Settings > System > Display, choose your monitor, and in the corresponding section, adjust the resolution, scale, and orientation. If any application appears blurry or too large/small, try changing the percentage of text scale and elements until you find a comfortable position; for step-by-step instructions, see how Increase font size in Windows 11.
Configure the behavior when docking and undocking the laptop
Many laptop users connect their laptops to a monitor at the office or at home, unplug them to move around, and plug them back in several times a day. Windows 11 has improved how it manages these connections. windows when attaching and detaching external screens.
By default, when you disconnect the computer (unplug the video cable or remove it from the dock), the windows that were on the external monitor minimize. When you reconnect the monitor, Windows tries restore each window to its original position inside that monitor, as if nothing had happened.
If you want to adjust this behavior, go to Start > Settings > System > Display and scroll down to the Multiple displays section. There you'll see different checkboxes that you can enable or disable depending on whether you want the system to... remember the window layout Or would you prefer that I relocate them differently when you connect or disconnect screens?
Configure multiple displays in detail in Windows 10
In Windows 10 there are a couple of additional menus worth knowing about if you want fine-tuned control over your multiscreen setupEverything starts, once again, from Start > Settings > System > Display.
At the top you have the "Rearrange screens" section, where you drag the monitors and use the buttons Identify and DetectBelow is the link to “Advanced display settings”. Clicking it opens a window where you can see detailed information about each monitor: refresh rate, current resolution, color format, and in some cases, even the exact model.
This information is very useful when you're unsure which screen number corresponds to which physical monitor, or when you want to know if a particular panel is actually working at 144 Hz, 120 Hz or only 60 HzIf you need drivers, please check our Guide for direct driver download to ensure that the graphics card and monitors are using the correct software.
Another interesting area is in Start > Settings > Personalization. In the “Background” section, you can choose a special mode called Extender For the desktop background: instead of repeating the same image on each monitor, the photo is spread across all of them, as if you had a single gigantic canvas.
Also within Personalization, under “Taskbar”, there is a “Multiple displays” section where you decide how you want the taskbar to be displayed on each monitor:
- All taskbarsThe bar appears duplicated on all monitors, with its icons.
- Taskbar and main taskbar where the window opens: a mix of both, showing icons depending on where each window is located.
- Taskbar where the window opensEach bar only displays the icons of the apps that are on that monitor.
Using keyboard shortcuts to move and adjust windows
If you want to get the most out of your dual screen, get used to using the Windows keyboard shortcuts for organizing windowsThey greatly reduce the time you spend dragging with the mouse.
The most useful shortcut family is the Windows key combined with the arrow keys:
- Windows + Left/Right Arrow: adjusts the active window to the left or right half of the screen (works with each monitor independently).
- Windows + Up Arrow: maximizes the window.
- Windows + Down Arrow: restores or minimizes the window, depending on its current state.
With these combinations, you can, for example, place the browser window on the left half of the main monitor and a Word document on the right half, without touching the mouse. If you also work with multiple monitors, you can combine this adjustment with moving the window between screens (in some configurations, Windows + Shift + Left/Right Arrow sends the window to the adjacent monitor).
Other very useful shortcuts for multitasking with multiple screens are:
- Windows + P: change the display mode (PC only, duplicate, extend, second screen only).
- Windows + TabOpen Task View to see all open windows and manage virtual desktops.
- Windows+Ctrl+D: create a new virtual desktop.
- Windows + Ctrl + Left/Right Arrow: switch between virtual desktops.
- Windows + Start: minimize all windows except the active one.
Fit layouts and split screen in Windows 11
Windows 11 takes window management a step further with Snap Layoutswhich greatly facilitate the creation of application mosaics occupying very specific portions of the screen.
To use them, place your cursor over the maximize button of any window (without clicking). You will see a pop-up menu with several options. distribution patternsTwo columns, three columns, a four-column grid, etc. Simply choose the position you want for your window; then, Windows will suggest which other applications fill the remaining gaps.
You can also open the layout menu with the shortcut Windows+Z and then select the layout using the keyboard. This is especially practical on large or ultrawide monitors, where keeping only two windows at 50% can waste a lot of horizontal space.
Additionally, if you drag a window to the top of the screen, Windows 11 will display a preview of these layouts so you can quickly place the app in one of the available slots. At a more basic level, the Snap feature is configurable in Settings > System > Multitasking, where you can enable or disable behaviors such as displaying suggestions when snapping or remembering window combinations.
Connect multiple displays in a daisy chain using DisplayPort (MST)
Besides connecting each monitor separately to the graphics card, there is another advanced option: daisy-chaining monitors using DisplayPort, taking advantage of MST (Multi-Stream Transport) technology.
DisplayPort is a video standard that, in addition to offering high bandwidth and a locking connector to prevent accidental disconnections, allows a single DisplayPort port on the PC to power multiple monitors in series. For this to work, the monitors need to have DisplayPort input and output and MST compatibility.
The idea is simple: you connect a DisplayPort cable from the graphics card output to the first monitor, and then another DisplayPort cable from that monitor's DisplayPort Out to the next monitor, and so on. Windows will see each one as an independent display that you can arrange, extend, or duplicate just as if they were directly connected.
This solution is especially interesting in office environments or very clean setups, where you want to minimize the number of cables coming out of the computer and take advantage of the daisy-chain capability of modern professional monitors.
Typical use cases and tips for getting the most out of the dual screen
Beyond theory, the true value of a dual screen lies in how You integrate it into your daily lifeDepending on the type of user, some configurations work particularly well.
If you are a student, you can use the main monitor to have the program open. document where you write work and the second screen for the browser with articles, PDFs, or digitized notes. This way you don't have to constantly switch tabs and it's easier to copy data, compare sources, or follow an online class while taking notes; and if you need to save something for later viewing, our guide to taking screenshots You will find it useful.
In the professional sphere, it's most common to have email, corporate chat, or video calling tools on one monitor and, on the other, the... main work applications (Excel, management software, programming IDE, etc.). This way, you can keep up with notifications or a meeting while keeping an eye on spreadsheets, diagrams, or code.
For those who design, edit video, or create content, it's often very practical to dedicate a screen to the timeline, layers, and tool panelsand the other to the full-size preview. This way, the workspace isn't so cramped, and it's easier to position the secondary panels without encroaching on the editing area.
Even for light leisure and productivity use, a second screen is a lifesaver: you can watch a series, a Twitch stream, or your Spotify playlist on one monitor while working, playing games, or browsing on the other. The key is adapting the display modes and window organization to your style.
With all these tweaks, tricks, and options in Windows 10 and Windows 11, setting up a dual-screen setup (or even more) ceases to be a headache and becomes a powerful tool for working, studying, or simply enjoying your PC. Once you get used to having multiple extended screens, taking advantage of the different projection modes, playing with resolutions, and using keyboard shortcuts to move windows, your computer experience becomes much smoother, giving you the feeling that you're truly making the most of your computer's capabilities.