- The puzzle is solved by activating washing machines according to a binary code found on a note in the store.
- The machines that are switched on represent the number 1 and the ones that are switched off represent the number 0.
- The reward includes a health improvement point and important lore documents.
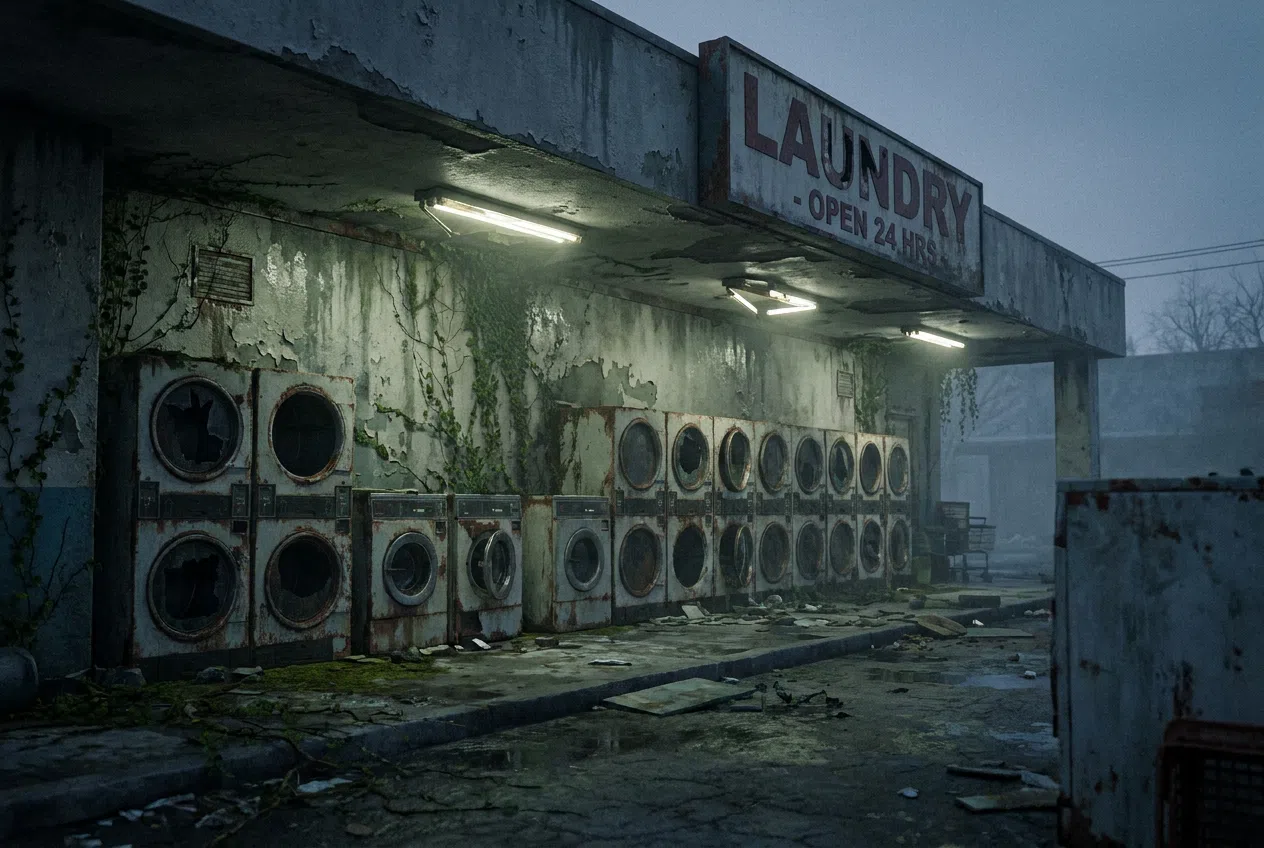
Immersing yourself in the world of Control Resonant is to be swept away by a haunting atmosphere where Dylan Faden encounters situations that defy all logic. Amidst so many supernatural oddities, the game presents curious challenges that break the rhythm of the action, such as the enigmatic laundry room puzzle , an optional mission linked to the Secret Hideouts storyline that requires more ingenuity than brute force.
For those who enjoy exploring every corner of Manhattan, solving this puzzle is essential, not only for the satisfaction of deciphering the code, but also because very tempting rewards await the player at the end. If you're stuck staring at the machines, unsure of what to do, don't worry, we'll tell you step by step how to master this mess of detergents and binary code.
Exact location of the laundromat
To find this place, you'll need to head to the central area of the map. To avoid getting lost, look for the horizontal street located just above the East Park Station legend , in the eastern sector. Specifically, the shop is called Wear'Em & Wash'Em and is located south of the Patterned Factory, just west of the station entrance mentioned earlier.
Upon entering the establishment, you'll notice the typical atmosphere of a run-down laundromat: you'll see numerous "out of service" machines that you won't be able to activate, and only a few that are working properly. The core of the puzzle lies on a notice board where you'll find a note titled " While You Wait," containing a series of combinations of zeros and ones.
How to decipher and solve the puzzle

The key to opening the secret door is understanding that the grid of numbers on the note represents the physical arrangement of the washing machines in the room. In this binary code, the number "0" means the machine should be off , while "1" indicates it should be on (you'll know it's active because green numbers will appear on its display).
To solve it without errors, follow this detailed sequence based on the location of the machine rows:
- First row (left/west wall): It's the only uninterrupted line of seven machines. Here you just need to turn on the fourth washing machine (the middle one), achieving the combination 0001000.
- Second row: In the front area, you'll find two working machines alongside four broken ones. You must activate the two that work to obtain the code 001100.
- Third row (center-left): In this line of six machines, you can only interact with the ones at the ends. Turn on the first and the last one to form 100001.
- Fourth, fifth and sixth row: These rows must remain completely turned off, since the code requires three sequences of 000000.
- Seventh row (right side/entrance): In the group of six machines near the door, you must Turn on only the first washing machine on the left.
Once you have set up all the machines following this pattern and made sure that none are switched on by mistake, you will hear a wall at the back of the room slide open, revealing the entrance to the hideout.
Secret Hideout Rewards
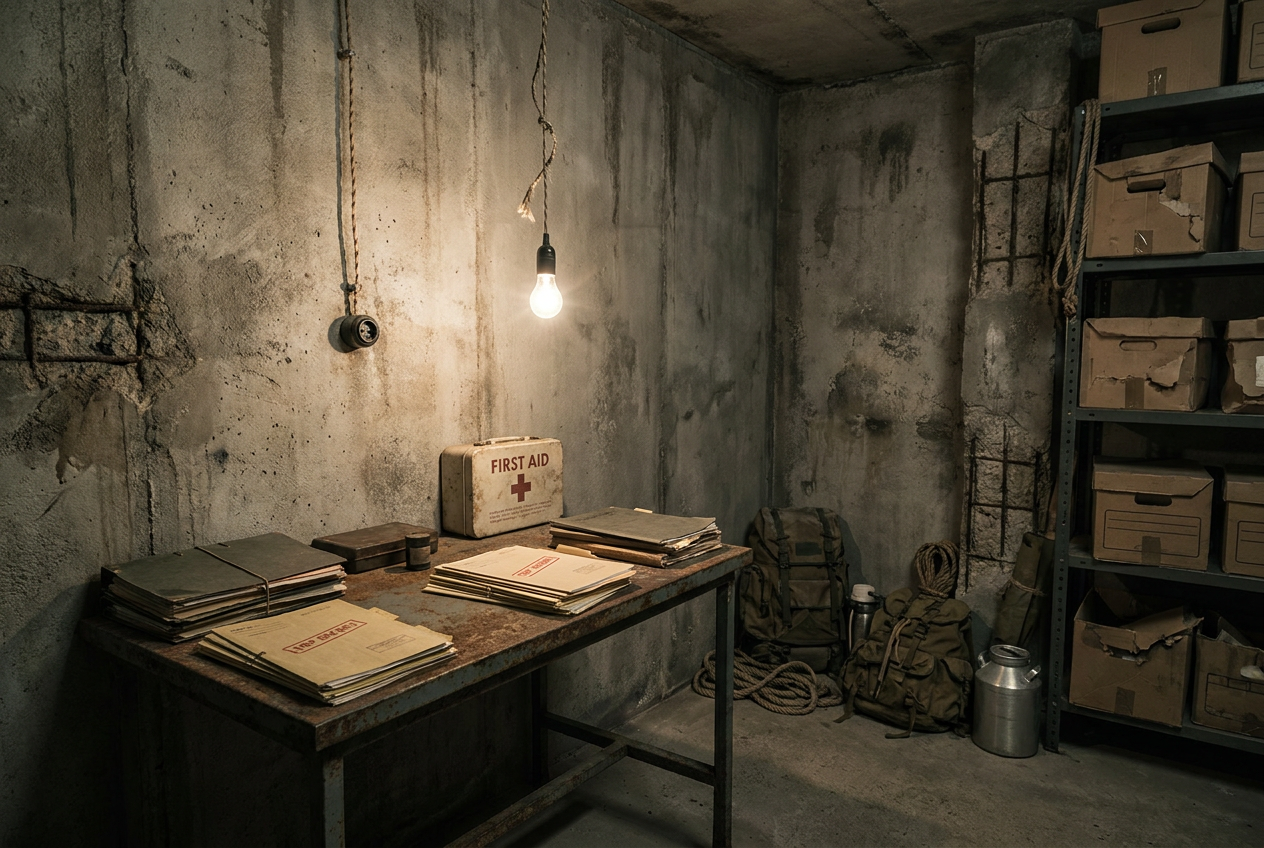
Descending the stairs in the passageway will lead you to a hidden area where the loot is well worth the effort. The most important find is a health upgrade point , essential for surviving the game's toughest encounters. You can also collect valuable documents that expand the lore, specifically the protocols titled "Visitation and Stay Protocol" and "Do Not Leave The Shelter . "
Mastering the Wear'Em & Wash'Em binary code grants access to critical survival upgrades and delves deeper into Control Resonant's fragmented narrative, transforming a simple visit to the laundromat into a tactical advantage for Dylan Faden by obtaining health and secret documents.