- Detailed planning and compatibility checking prevent costly mistakes during assembly.
- The logical order of component installation is fundamental to optimizing space and avoiding disassembly of parts.
- Proper management of static electricity and careful handling of hardware prevent permanent damage.
- Proper cable management and BIOS configuration ensure the stability and performance of the equipment.

Building your own computer might seem daunting at first, but the truth is, it's not a walk in the park, nor does it require you to be an engineer. In fact, it's a very common option for those who prefer not to settle for pre-built systems from stores, which often suffer from mismatched components or storage that quickly becomes insufficient. By choosing each part individually, you have complete control over aesthetics and performance, ensuring that every euro spent goes directly to what you need.
Besides saving on labor costs, building your own machine allows you to customize the cooling and design to fit your home's space. While it does involve some research and learning where each cable goes, the satisfaction of pressing the power button and having the machine start up on the first try is unparalleled. In the following lines, we'll break down everything you need to know to make the process methodical, safe, and trouble-free.
Planning and budgeting: The foundation of your PC
Before buying anything, it's vital to sit down and think about how you're going to use the computer. A machine for basic office tasks is not the same as a beast for 4K gaming or professional video editing. Ideally, you should set a fixed budget and allocate your funds, prioritizing the components that most impact performance. For example, if you're going to play games, the graphics card (GPU) will be your priority, while for rendering tasks you'll need a processor with more cores and plenty of RAM.
One area where many people make mistakes is compatibility. Don't buy impulsively; check that the motherboard socket matches the processor socket and that the motherboard form factor (ATX, mATX, etc.) fits in your chosen case. Also, verify that the power supply has sufficient wattage to power the GPU and that the CPU cooler isn't so tall that it interferes with the case's side panel.
Essential tools and precautions
You don't need a full workshop, but having the basics on hand is essential. A Phillips screwdriver is the absolute best here. Cable ties and wire cutters will also come in handy to keep the wires from looking like a plate of spaghetti inside the case. If you want to be extra safe, wear an anti-static wrist strap or frequently touch an unpainted metal surface to discharge static electricity from your body, as even a tiny, invisible spark could fry a sensitive component.
To avoid grease stains or accidental damage, you can wear gloves or simply hold the pieces by their side edges . Work on a wooden or plastic table, avoiding carpets or fabrics that generate static electricity. Remember that the hardware is delicate: if something doesn't fit, don't force the connection ; it's most likely backward or incompatible.
Chassis preparation and base assembly
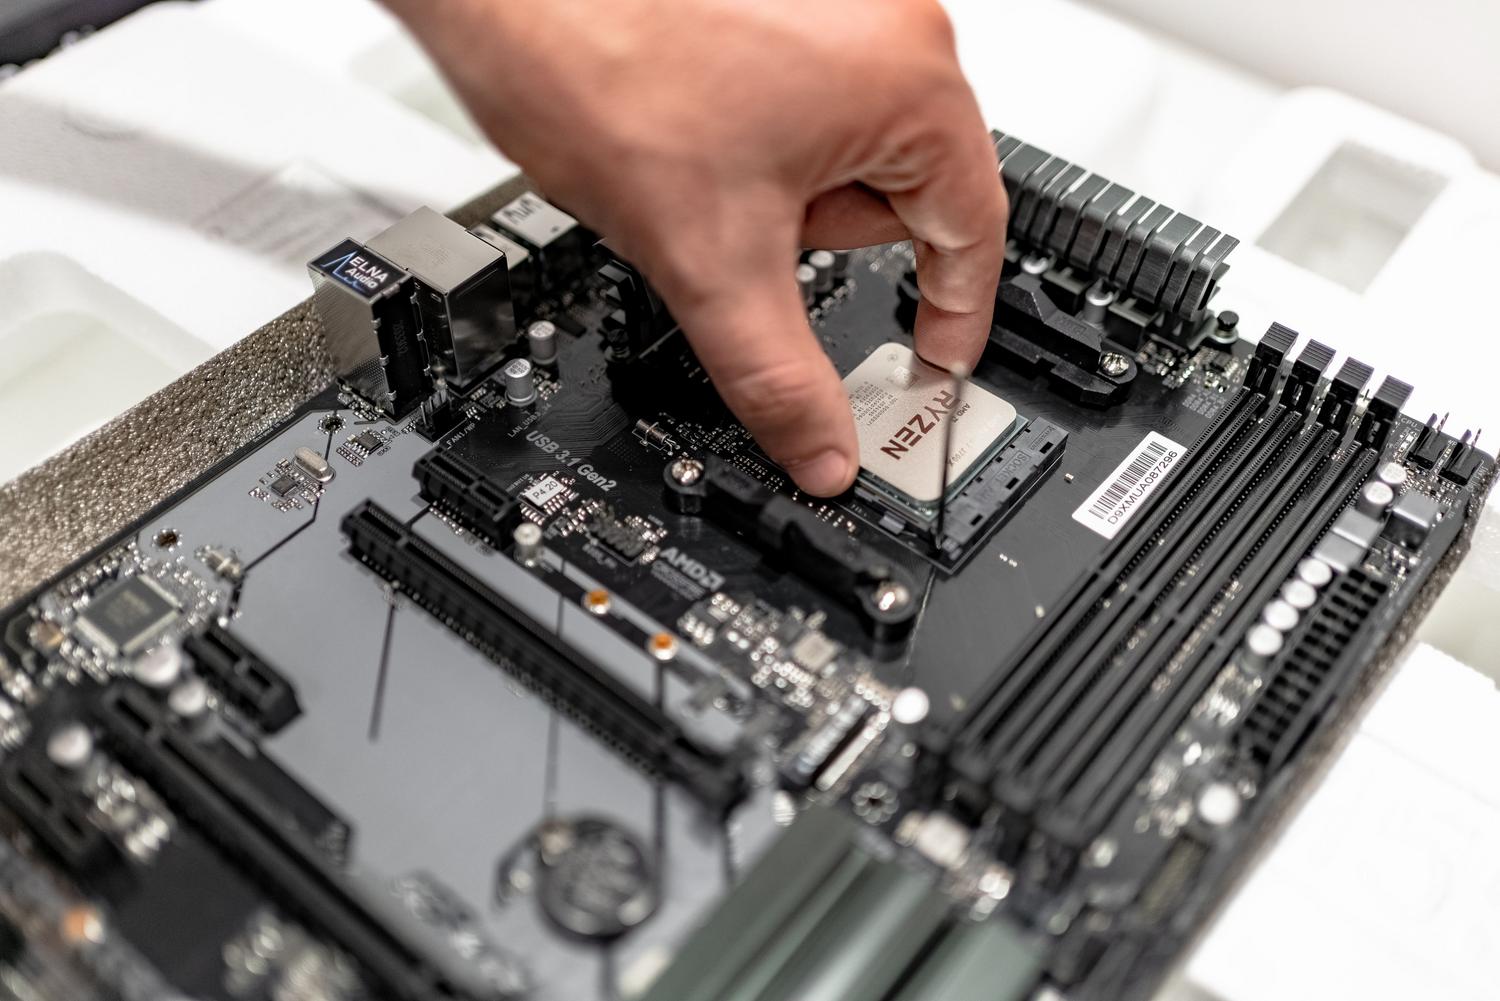
The first logical step is to prepare the case. Remove the side panels and locate the screws. If your motherboard doesn't have an integrated I/O shield , press it into the rectangular recess at the rear before inserting the motherboard. This is also the time to install the brass standoffs if the case doesn't already have them, as these prevent the motherboard from touching the metal of the chassis and causing a dangerous short circuit.
To make things easier, it's highly recommended to install certain components on the motherboard before putting it in the case . First, place the processor, aligning the corner mark with the mark on the socket, and carefully close the lever. Next, install the NVMe M.2 SSD ; it's much easier to do this now than when space is limited. Finally, insert the RAM modules until you hear them click, making sure to use the correct slots to enable Dual Channel and improve speed.
Cooling and fixing of the plate
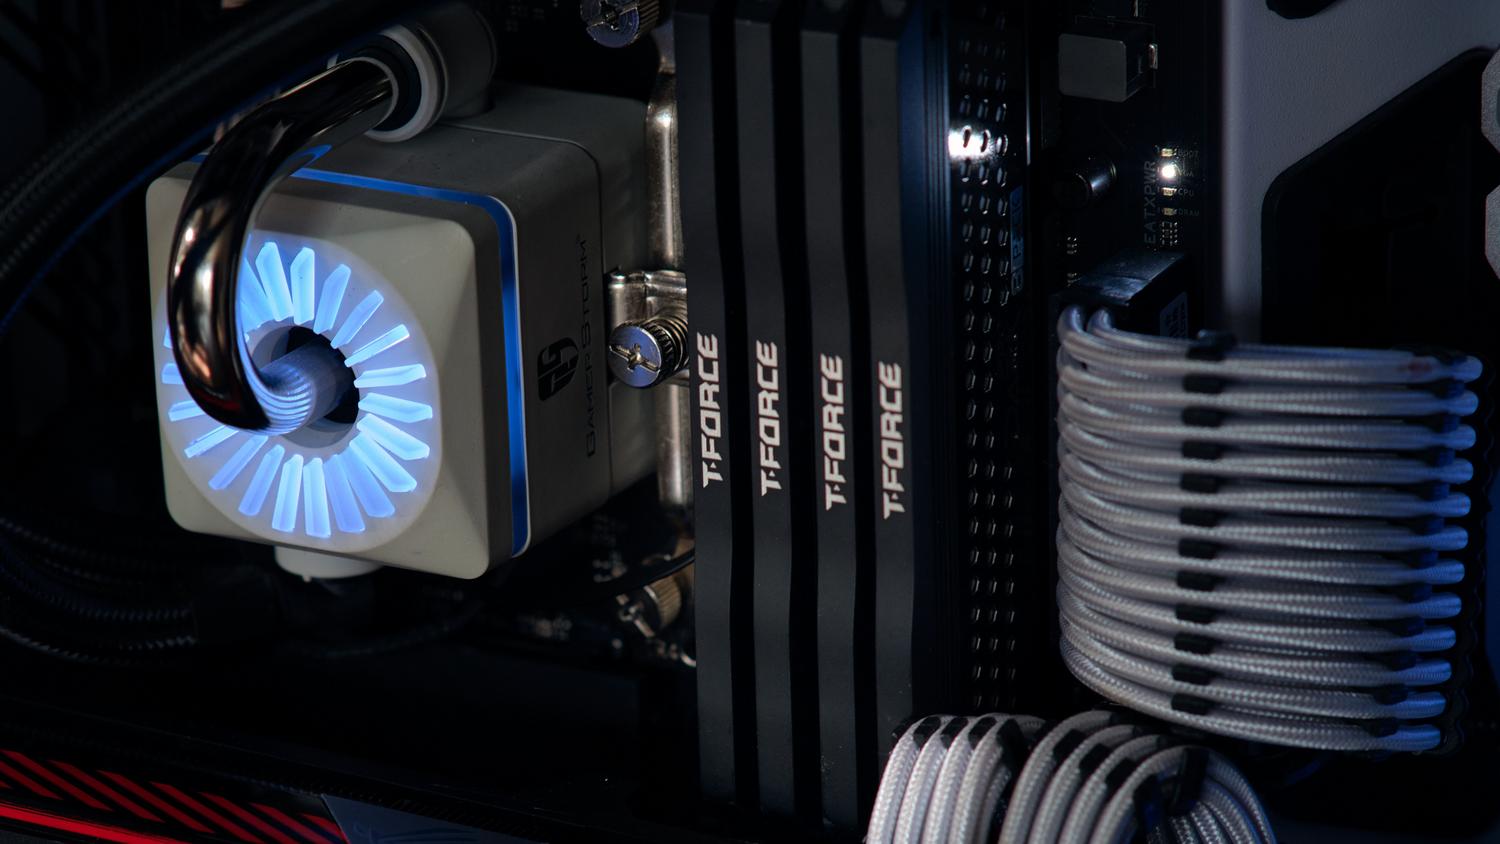
If you're using an air cooler, install it on the CPU now. Apply a pea-sized drop of thermal paste to the center of the chip; too much can cause it to overflow and make a mess of the socket. If you're using an AIO liquid cooler, you can mount the bracket to the motherboard now, but the radiator and fans will be attached directly to the case later.
With the motherboard ready, insert it diagonally into the case so that the ports align with the rear shield. Once it's seated, carefully screw it in. Now is the ideal time to connect the front panel cables (power, reset, LEDs) and the HD audio, as you still have room to maneuver without the graphics card getting in the way.
Feeding and finishing touches
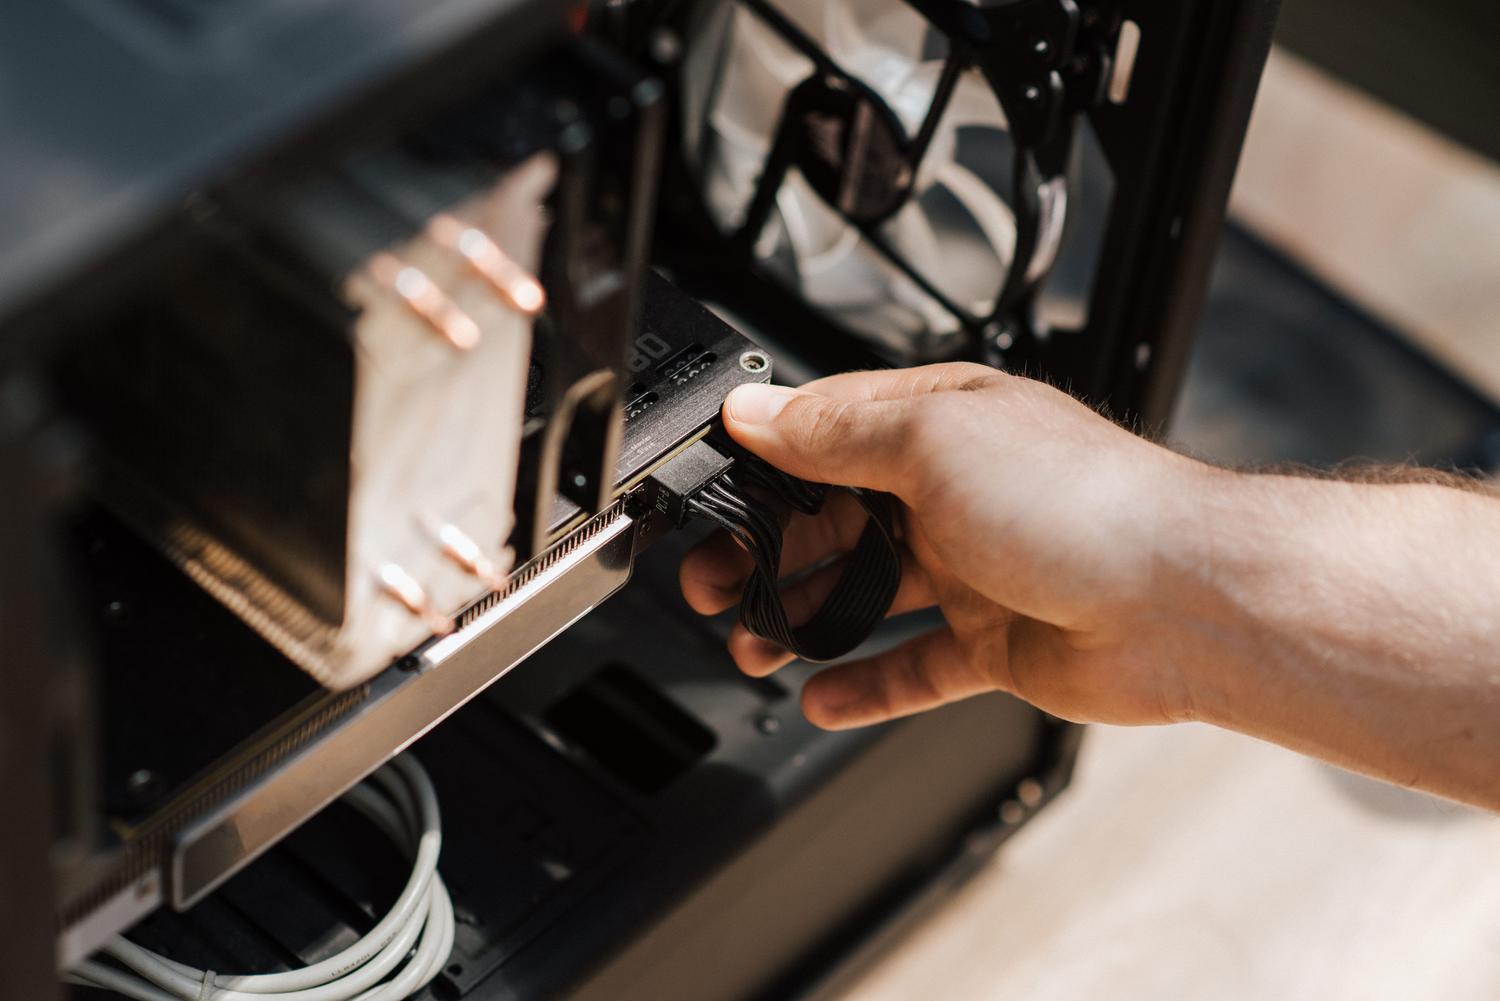
The power supply is the heart of the system. If it's modular, connect only the cables you'll use to avoid cluttering the case. Start with the 24-pin ATX cable , which is the thickest and most difficult to route, followed by the EPS cable for the CPU. Organize the cables around the back of the chassis using cable ties to ensure optimal airflow and prevent overheating.
The final step is the graphics card. Remove the rear bezels from the case, insert it into the primary PCI-Express slot, and screw it securely into the chassis. Don't forget to connect the necessary PCIe power cables. If you have traditional 2.5" hard drives or SSDs, slide them into their bays and connect the SATA data and power cables.
The initial startup and adjustments
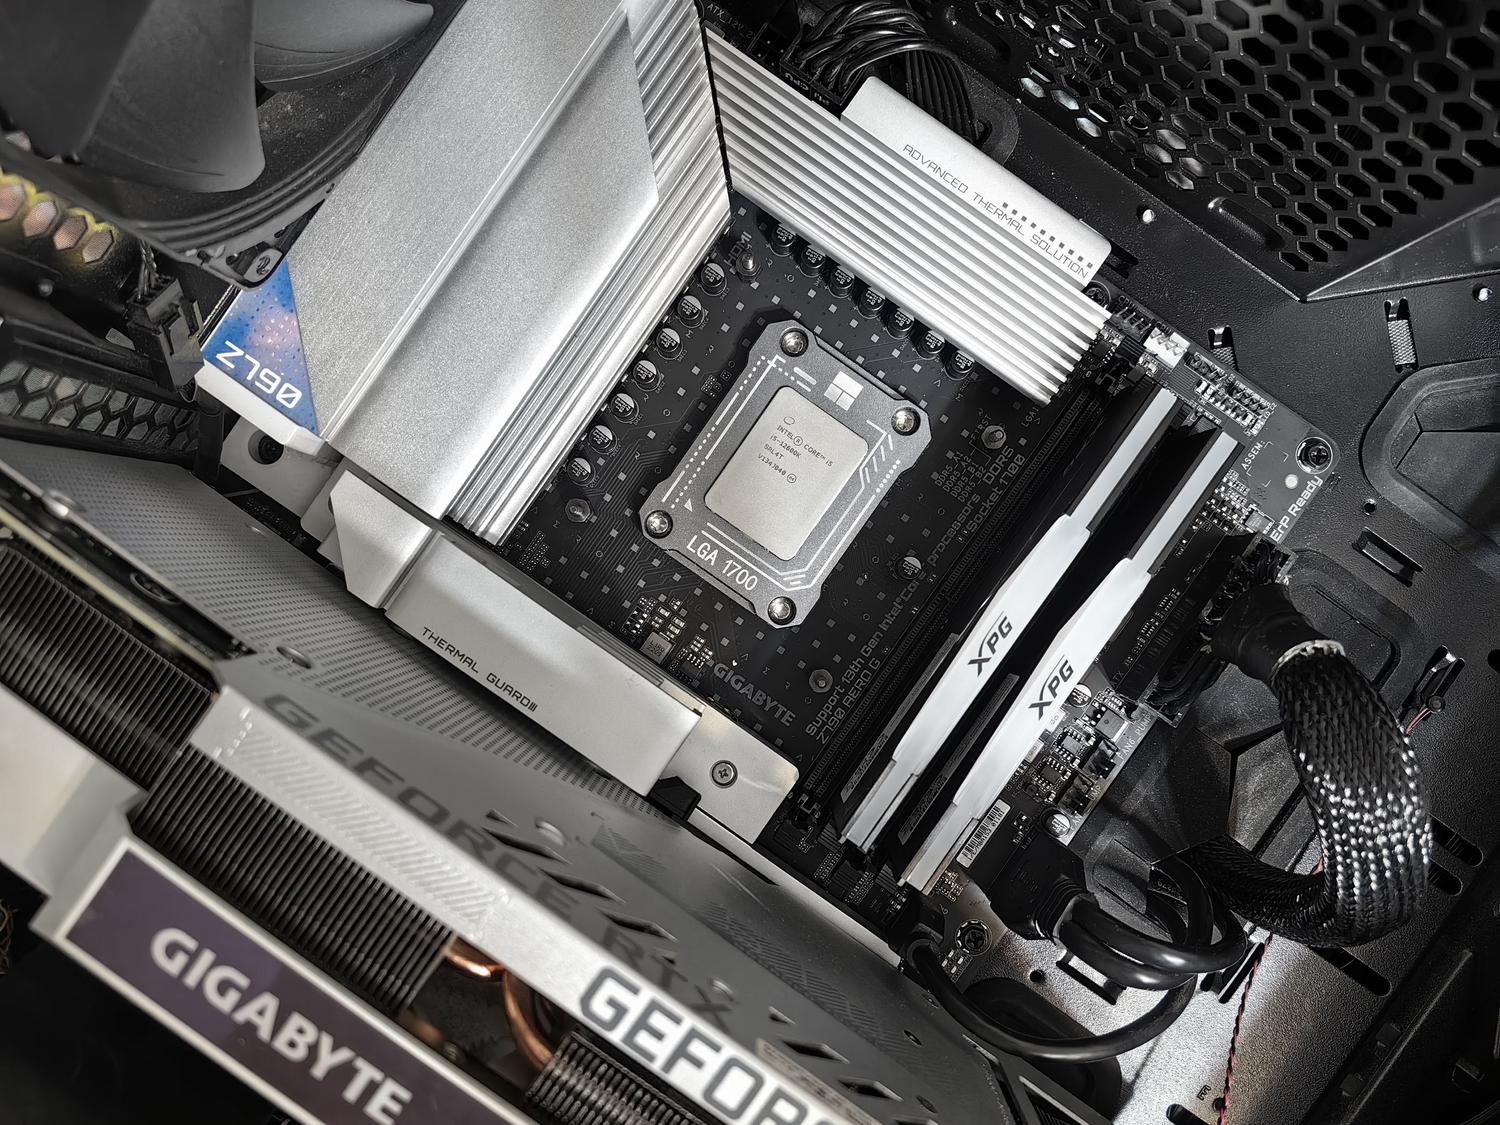
Before turning it on, do a visual check: make sure there are no loose screws rattling around the motherboard and that the fans don't have cables rubbing against them. Ensure the power supply switch is in the 'I' position. If the PC doesn't boot on the first try, don't panic; it's usually due to improperly seated RAM or a reversed front panel cable. Once you see an image, enter the BIOS to configure the XMP or EXPO profile for the memory and set the boot order.
Finally, install the operating system from a USB drive and download the updated GPU and chipset drivers . It's advisable to run some stress tests and monitor temperatures to confirm the cooler is working properly. Once power is optimized and peripherals, such as a high refresh rate monitor or mechanical keyboard, are checked, your system will be ready to perform at its best.
Building a computer is a process that combines patience with precision, where the key lies in following a logical order and respecting the fragility of the components. From the intelligent selection of components and combating static electricity, to the meticulous wiring and final BIOS configuration, each step contributes to creating an efficient machine. Ultimately, the result is a perfectly balanced system tailored to your preferences, guaranteeing a longer lifespan and superior performance compared to any pre-built option.